Oops, I have been VERY remiss at updating the blog! It has been an extremely busy last couple of months, kind of crazy actually, but good. I have a gazillion pictures to post. Once I have organized them somewhat I will do some updates - maybe I'll even see if Paul will write some updates.
Sunday, August 8, 2010
Tuesday, May 25, 2010
how does your garden grow?
This is my garden on May 22nd. I love my garden! :o)
 A close up of 'valentine' sunflowers with 'rosemore' lettuce growing underneath.
Saturday, May 1, 2010
visitors
Yesterday I had a group of delightful, bright, helpful girls come for a tour of my garden so that they could have a little taste of what urban farming is all about. They were from the Sea to Sky school and had been learning about the '7 N's of food': food that is from Near, is Natural (no pesticides, Naked (no packaging), Now (in season), Not so much meat, Nutritious, and Never wasted. They got to taste a vegetable straight from the garden that none of them had previously eaten, tsoi sim. They loved it! Then they all did some seeding in the greenhouse and helped move some bark mulch to cover the last little strip of lawn remaining. Thank you girls for your help! :o)

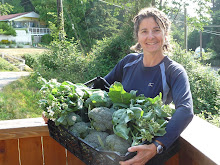
If you read my previous post you will see pictures of my garden in process. Well here is the result, still in process but looking like a vegetable garden now:
 Other news, my other business Sunshine Seedlings is going gangbusters. We have thousands and thousands of beautiful seedlings - here is a nice pic of some of our tomatoes. I feel like a proud mom!!
 I've had another regular visitor to my garden this Spring. A robin with very unusual colouring on its head. Sorry for the quality of the photo, this was taken from quite a distance away and it wouldn't stand still. :o)
Sunday, April 4, 2010
New garden
In November of 2009 Paul and I purchased a house that had a huge front lawn. Of course we both knew exactly what would happen to that front lawn! :o) Within a week of moving in I started laying down cardboard (good use for moving boxes!) and covering it with leaves from our neighbour's forest.

 Over the Winter I kept adding any composted material, soil, peat moss etc that came my way. I also had a load of free wood chips delivered from a local tree guy and started to define the pathways. In the Spring I had some manure and soil delivered, which was put on top of the material that had been 'brewing' over the Winter. There are many worms in this mix already - a good sign!
Then it was time to start think about fencing - we have deer here that treat our garden like it is their bedroom, living room and dining room!!!
 We picked up cedar posts from a local mill - we can't use treated wood because I grow organically.

 After getting the basic structure in place we added deer netting that is 7' high - amazing stuff, you can't even see it in this picture! We decided we didn't want a 7' high fence that looked like a fortress, or that said 'keep out'. So along with purchasing some regular cedar fence boards we picked up driftwood from the beach and some free cedar cut offs from a local small mill operator.
It is amazing to me that you can go from this:

To this:

We are very happy with the look, and you still can't see the deer netting!

 Over the Winter I kept adding any composted material, soil, peat moss etc that came my way. I also had a load of free wood chips delivered from a local tree guy and started to define the pathways. In the Spring I had some manure and soil delivered, which was put on top of the material that had been 'brewing' over the Winter. There are many worms in this mix already - a good sign!
Then it was time to start think about fencing - we have deer here that treat our garden like it is their bedroom, living room and dining room!!!
 We picked up cedar posts from a local mill - we can't use treated wood because I grow organically.
 After getting the basic structure in place we added deer netting that is 7' high - amazing stuff, you can't even see it in this picture! We decided we didn't want a 7' high fence that looked like a fortress, or that said 'keep out'. So along with purchasing some regular cedar fence boards we picked up driftwood from the beach and some free cedar cut offs from a local small mill operator.
It is amazing to me that you can go from this:

To this:

We are very happy with the look, and you still can't see the deer netting!


Tuesday, March 2, 2010
New Greenhouse!
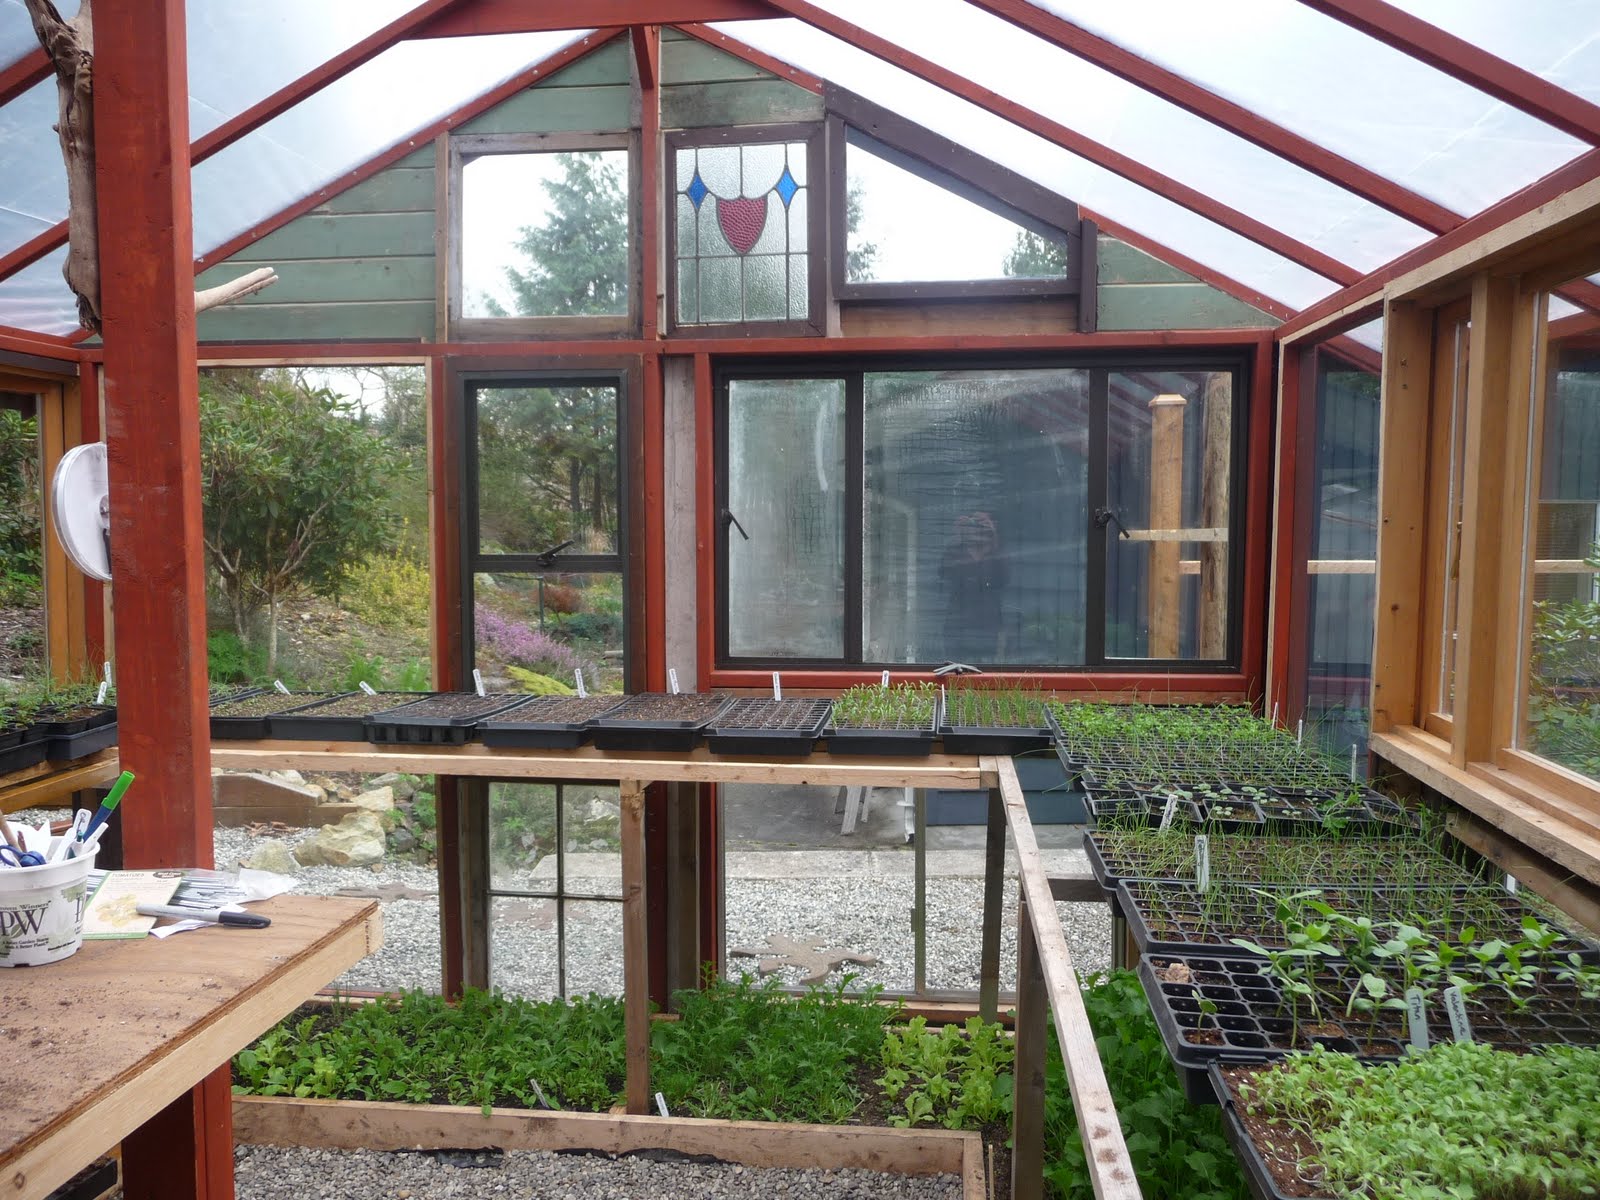
Wait till you see my greenhouse! Paul built it (gotta love handyman husbands!) entirely from a mismatch of old windows that we picked up from the dump. I think it is pretty amazing and pretty darn cute too!
We started off by measuring out where the greenhouse was to be placed, then removed some raised beds that were in the way.

Then Paul framed the structure and began to put windows in place.

Slowly but surely it took shape. We decided to use greenhouse poly for the roof, mainly for safety reasons.

Then Paul built raised beds around the perimeter. Shelving was also built around the perimeter and down the middle. I will put cold tolerant greens in the beds now, then very soon all the shelves will be full of flats of seedlings. Once the seedlings have been transplanted out to the various gardens the raised beds will have tomatoes and other hothouse plants growing.

The end result a fully functional greenhouse with the potting area set up in the middle.

Bits and bobs essential in a potting area: seeds, plant labels, marker pens, gloves, water wand and floating row cover (to the left of the picture) on hand in case of a surprise frost.

The greenhouse even has a sliding door (yep, found at the dump), and I'm not sure if you can see the very cool driftwood handle.

My beautiful, funky, very cool greenhouse already hard at work! :o)

Tuesday, January 12, 2010
Ordering seed
The yearly ritual - ordering seed - is a LOT of work!
You don't want to order too much because seed is expensive. You don't want to order too little because there is nothing more annoying than being ready to start seeding and discovering you are all out of seed. I tend to air on the side of being generous - most seed is okay the next year if you have too much.
There are many ways to approach ordering seed, I start off by pouring over the catalogues and start making a list of what I would like to grow, just a simple hand written list works for me. Now that I have a couple of years of experience under my belt I have a good base of plants that I know grow well and that I would like to grow again. However, there are always (too many) new varieties that I get all excited about trying. All the time I'm thinking about where a particular variety will be grown, where I will market it, and therefore how much of it I may need.

After making my first list (approx. 100 items!) I compare what seed I have left over from last year with what is on my list. I make notes along side indicating the quantity I have already. This will help me in determining the amount of seed to order.

Then I go online and order the seed - this year I ordered most of my seeds from Westcoast Seeds and William Dam Seeds, both Canadian companies, and I will be ordering a few specialty items from smaller seed companies on Vancouver Island too.

The nice thing about ordering online is that you can copy and paste the items you have ordered into an excel doc (yeah, no more typing everything out!). I have an excel doc that is my planting and harvesting schedule - all the items I have ordered are copied into this, then all that is left to do is to indicate seeding, transplanting and harvesting dates, and how much of each variety will be planted. That segues nicely into the next big job which is planning where and when to plant everything.
It is not smart to plant varieties in the same place each year because if you do you are increasing the odds of pest and disease problems, so a rotation system is needed. Along with the rotation system you need to be thinking about succession planting many items so that there is a constant supply. Also, many plants are early season varieties and others are main or late season - all these things must be taken into account when planning when and where they should go. It can all get quite overwhelming if you don't do a good amount of planning before the season starts. I generally start by drawing a physical map of each location and penciling in where things could go. It is like doing a large puzzle - lots of fun!! :o)
Subscribe to:
Posts (Atom)
